Y’all… I write a lot of articles and papers, proofread all our newsletters and any documentation that leaves our offices (unless it has typos and then you know I didn’t proof that). With that in mind, I have to tell you- this has been the most difficult piece to pen because of all the minutiae that goes into the new DOT Clearinghouse regulations. I’m pretty close to bald at this point from all the hair I’ve pulled out of my head.
Luckily, it seems like it should be pretty straightforward once we get through the basics, so let’s get started.
First, we need to know who needs a Clearinghouse account.
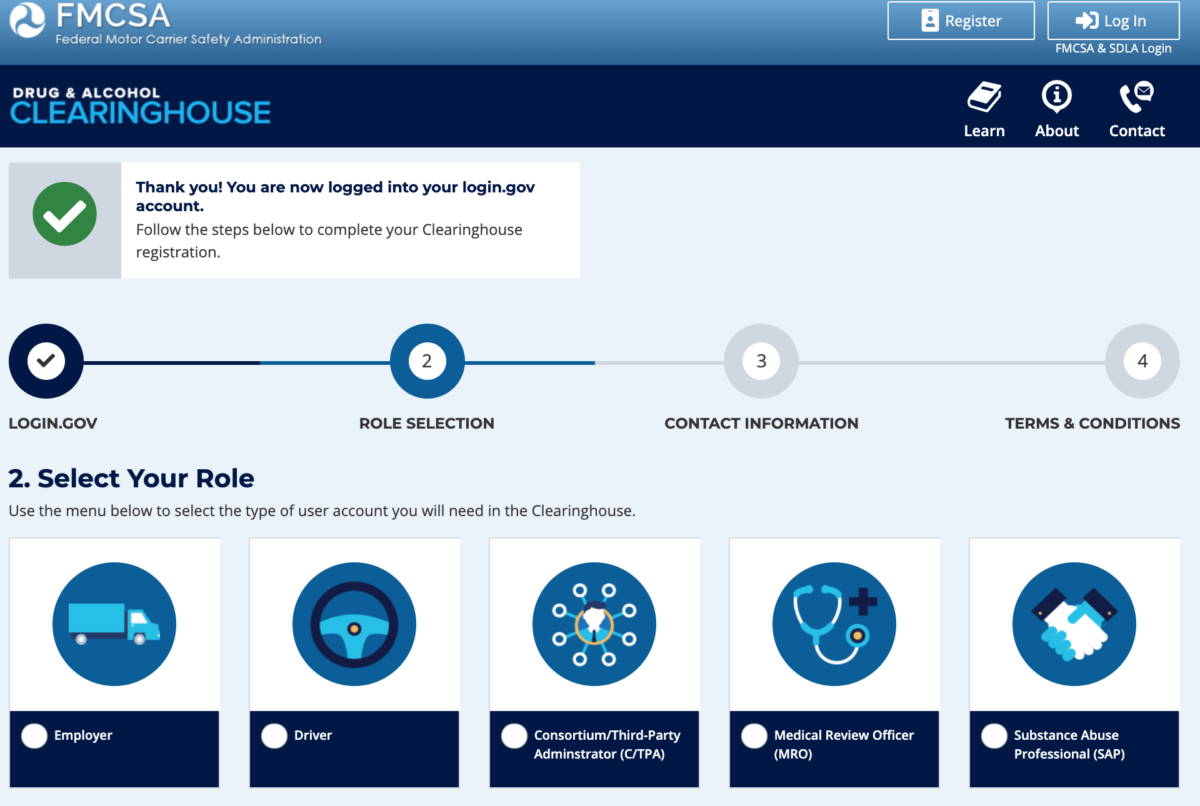
- Employers – Any employer who employs CDL drivers/ Commercial Motor Vehicles. Any employer who employs drivers of vehicles with a GVWR of 10,001 pounds. You’ll create one main account with additional users invited under the main account. The account will be used to query driver history and report violations.
- Drivers – Each driver needs their own account to authorize queries and review/verify information when necessary
- Owner Operators – For the same reasons as Drivers, but these drivers will need to designate a TPA to maintain their account on their behalf.
- Third Party Administrators/ Consortium Providers – To enter violations and assist Employers with entering information.
- Medical Review Officers – To enter violations
- Substance Abuse Professionals – To report return to duty updates
So once we’ve determined that you need an account, we can move forward from there. This is the hardest part. I’ve done this three times now- once to create my own account, once to add our new employee as an authorized user, and once to walk Jacqui through it verbally on the phone, so if you need ANY help at all, please call me and I’ll walk you through it. I will give you one piece of advice- the way I have done this and the way I recommend utilizes the Chrome browser. I’m sure it can be done using another browser, but this is the easiest and most efficient way to get the job done.
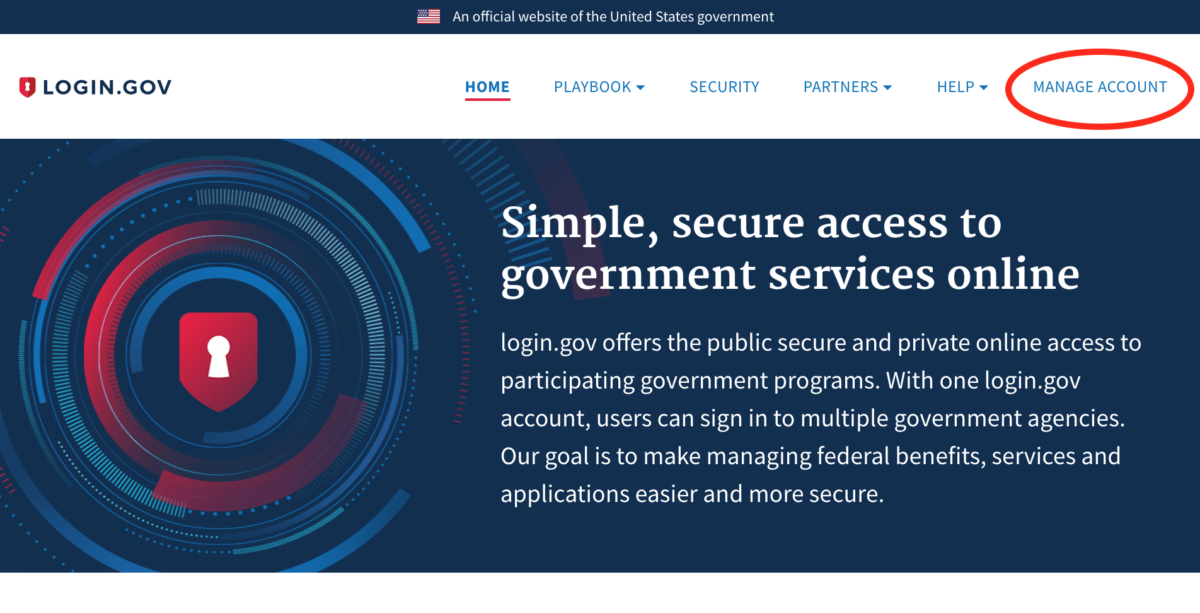
First, we need to create a Log In account so we need to go to login.gov.
- Click “Manage Account” on the far-right side of the menu bar.
- Navigate to “Create Account” below the Sign In button
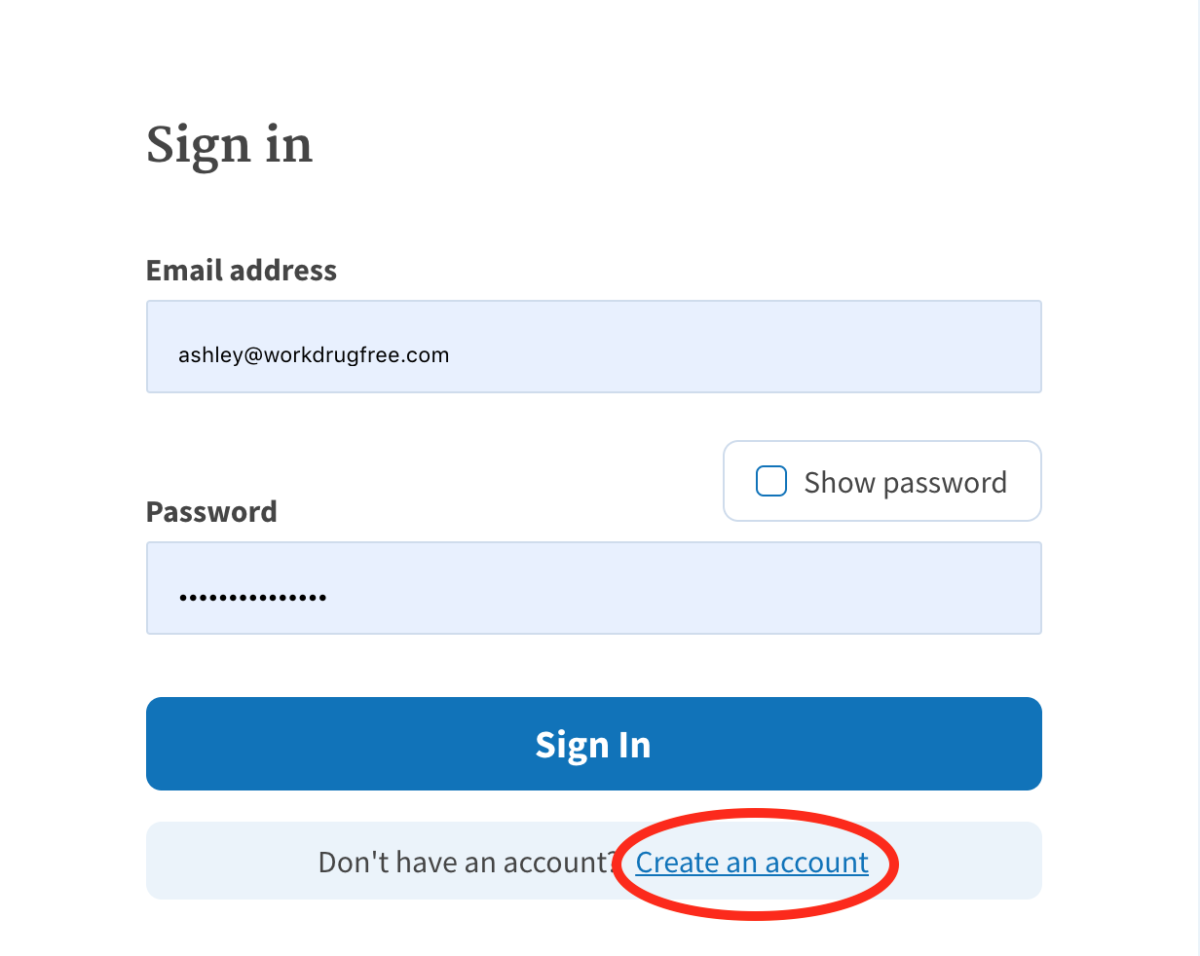
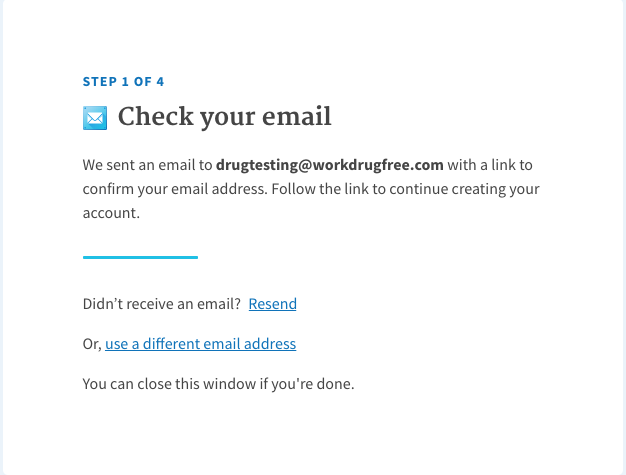
- There are 4 steps to creating your login.
- Enter your e-mail address and hit “Submit”. Supposedly, you can’t change this address later on so use one that will be around for a while.
- Go to your e-mail client to confirm your e-mail address
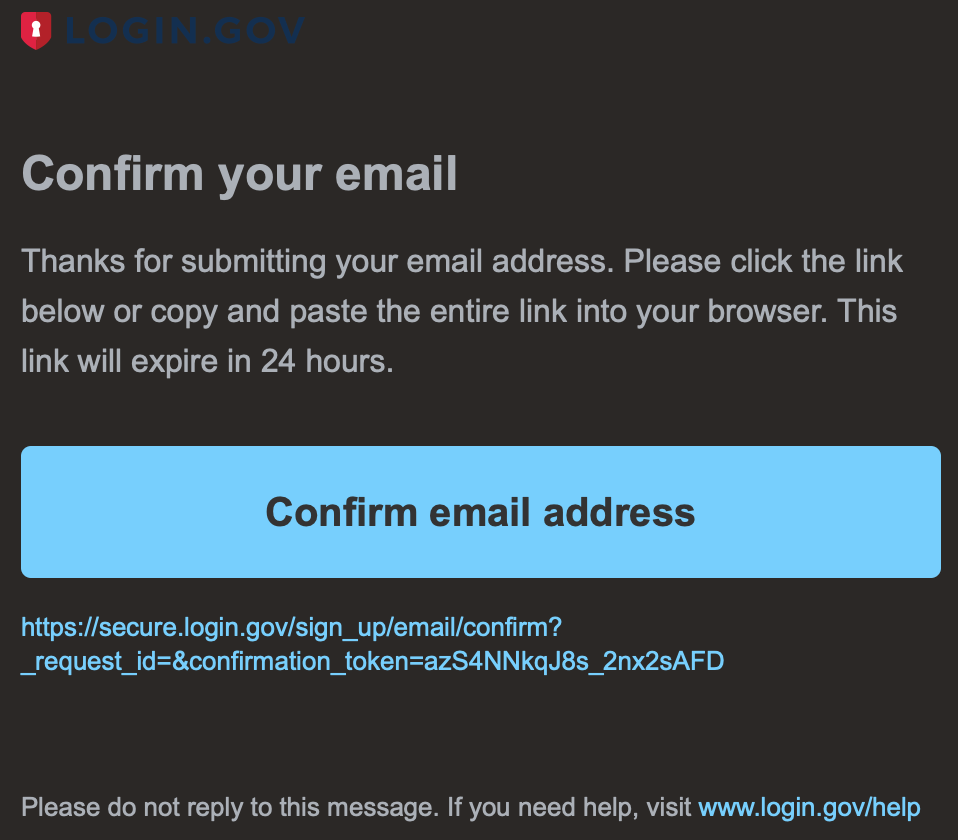
- Next, you’ll create a password – it must be 12
characters and you can use special characters. The system won’t let you go
through with a weak password.
- Lastly, the tricky part- we need to choose two methods of authentication.
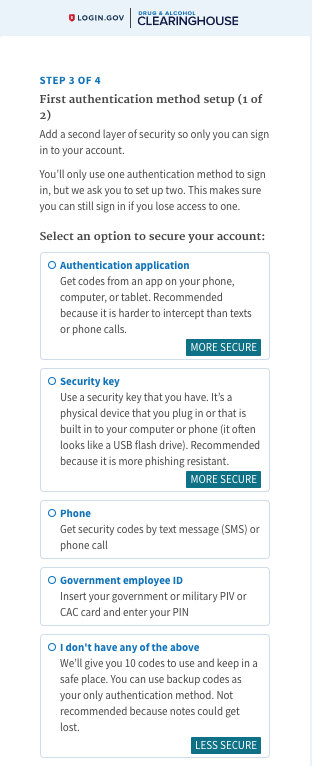
I will recommend using cell phone authentication and an authentication application, but whatever you do, DO NOT select “Security Key” unless you already have one and are intimately acquainted with their operation.
Select “Phone” to get a security code sent via text message to a cellular phone of your choice. You’ll enter your cellular phone number and get a code texted to you.
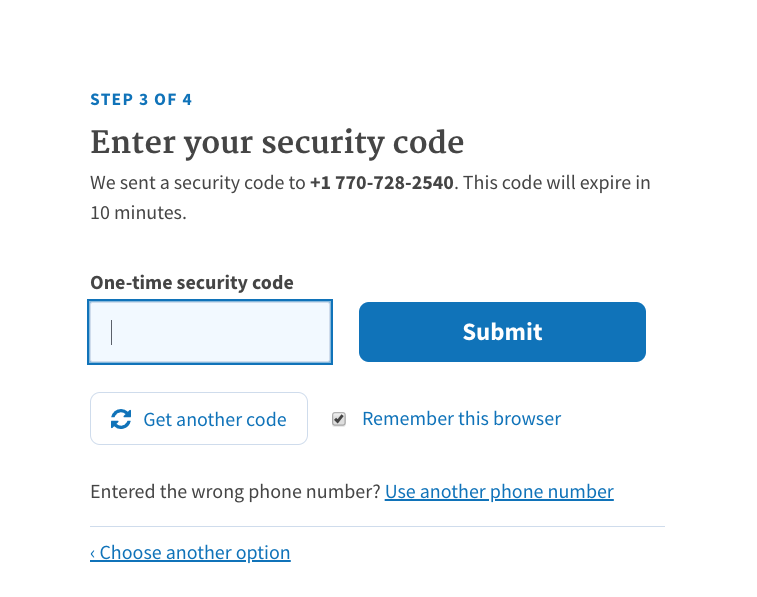
- Enter the code into the webpage to verify.
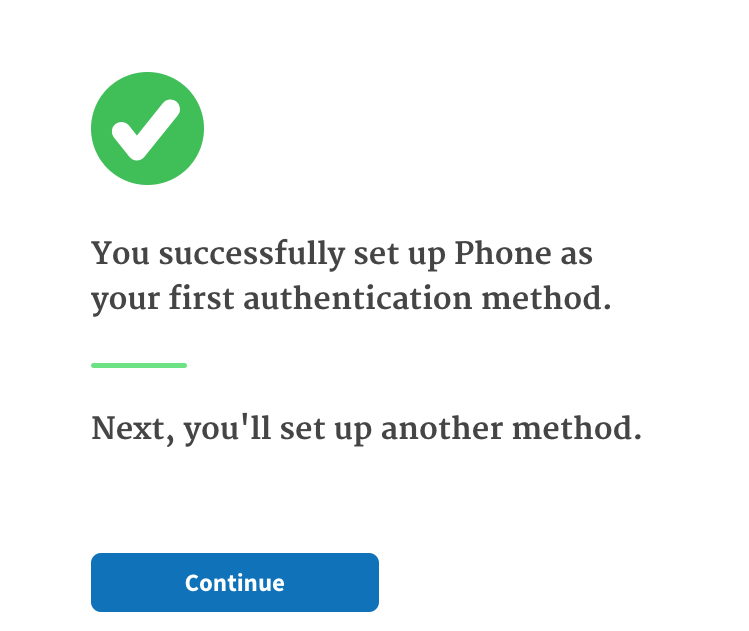
- You will get a confirmation screen that your phone is set up as your first authentication method.
- The second method is a bit trickier. I will suggest using an authentication application and using Chrome as a web browser.
**These instructions will be given assuming a Chrome browser (seeing as that’s what I used). If you need help using something different, please give Ashley a call or e-mail.**
- Select “Authentication Application” from the menu.
**Before we complete the next screen, we’ll need to add an authentication application to our Chrome browser**
- Open a new browser tab and enter
authenticator.cc in the address bar.
- Click the “Add to Chrome” button
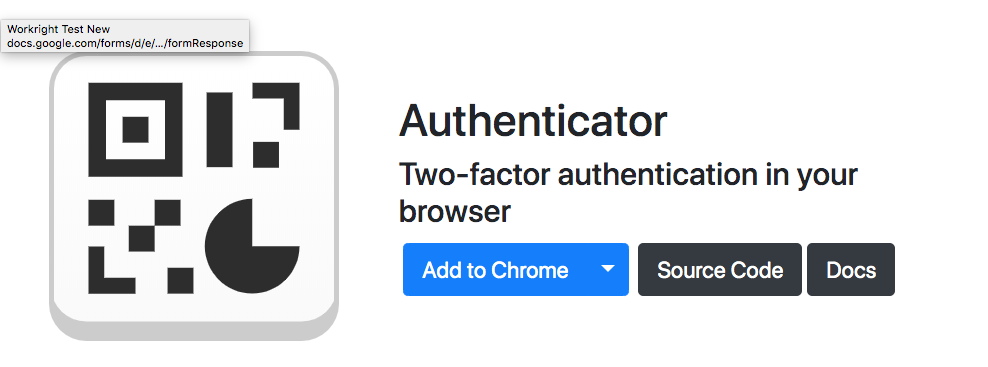
- This button will redirect you to the Google Chrome Web Store. You will click the button on the top right-hand side that says “Add to Chrome”
- A small square icon should now be present on the top right menu of your browser as shown in the picture.

**Now that we have added our authenticator, we can go back to our login.gov tab and start filling out the second authentication method. (We’re almost there, guys!) **
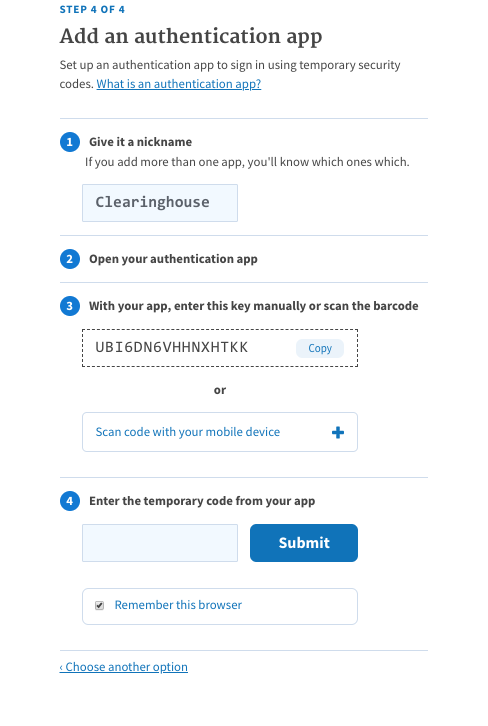
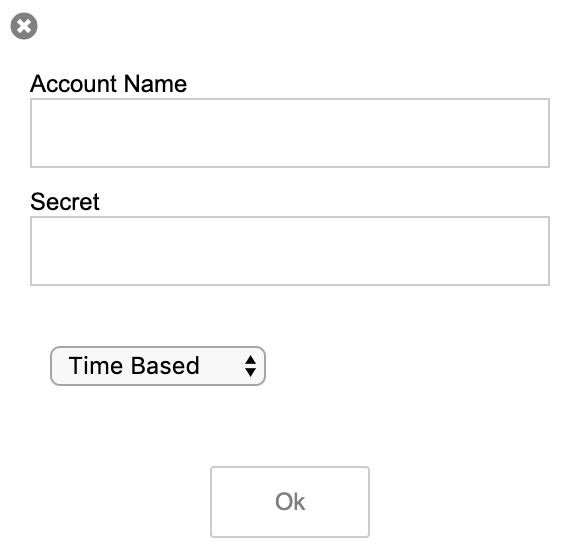
- Step One working through the second authentication is to give the authenticator a Nickname. I used “Clearinghouse” as my nickname.
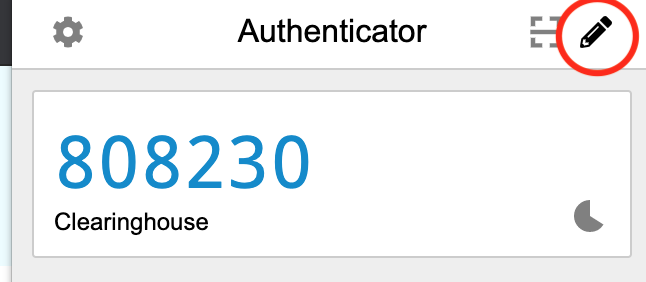
- Step Two: click on the small square icon on the top right-hand menu bar of your browser to open the authenticator.
- Select the pencil icon to add a new code to the authenticator.
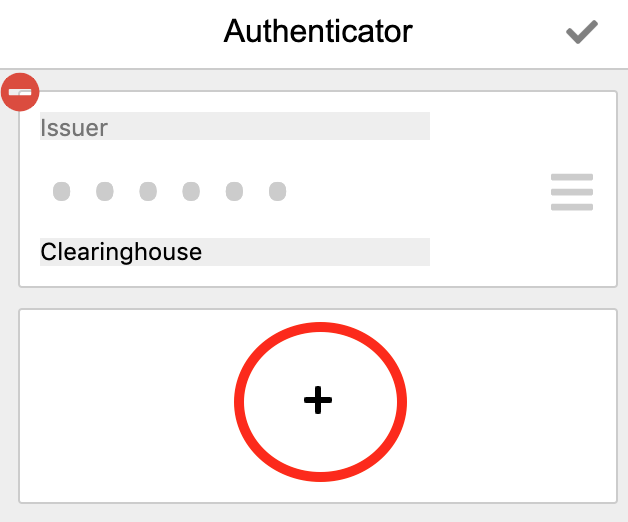
- Click the plus icon.
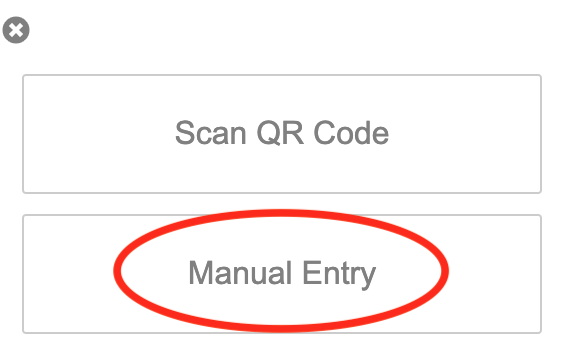
- Next, click “Manual Entry”
- We’re now at “Step Three” on our process. So we need to give your Authenticator a Name. I used “Clearinghouse” so I would know exactly what it was for.
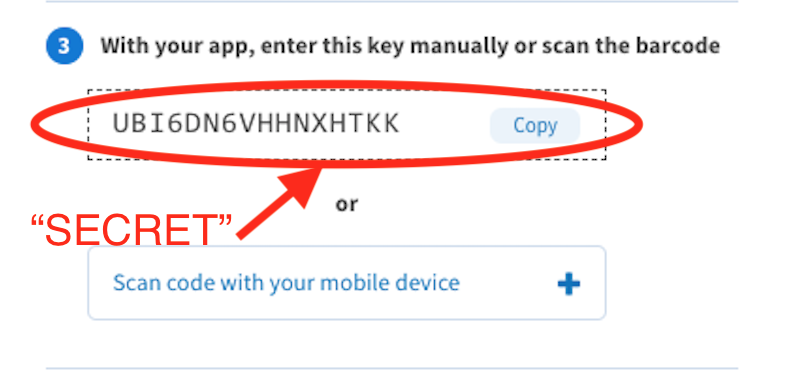
- Next, you’ll see a field for “Secret”. This is the code given on the login.gov tab.
- Lastly, you’ll add the code from your
authenticator in Step Four.
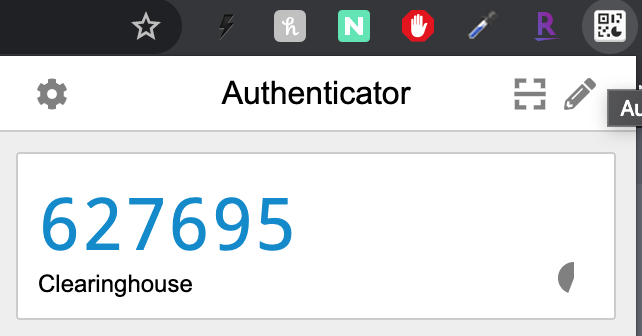
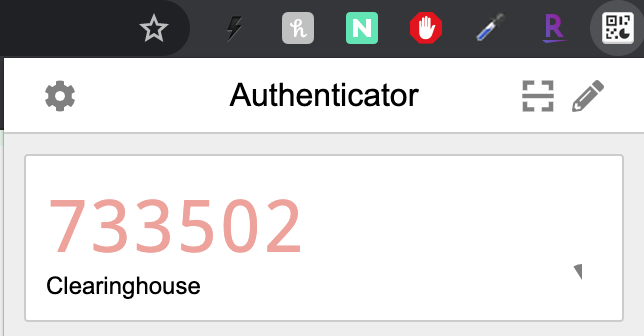
- Click on the square icon at the top right of the browser to access the authenticator. **Notice the code displayed has a circular icon on the bottom right corner of its rectangle. This icon indicates how much time is left on that one code. These codes renew every 30 seconds and will change from blue to red and will blink when they are about to expire.**
- Enter the code displayed by the authenticator in Step Four and click “Submit”
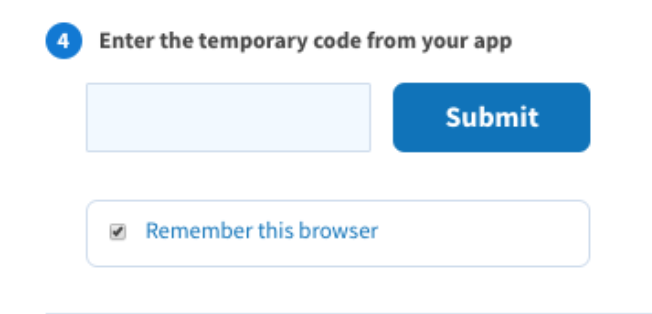
- You are now registered with login.gov and can access the clearinghouse.
The hard part is over guys. We will never have to do that again! Phew! Now we can go to the FMCSA Clearinghouse website at https://clearinghouse.fmcsa.dot.gov/
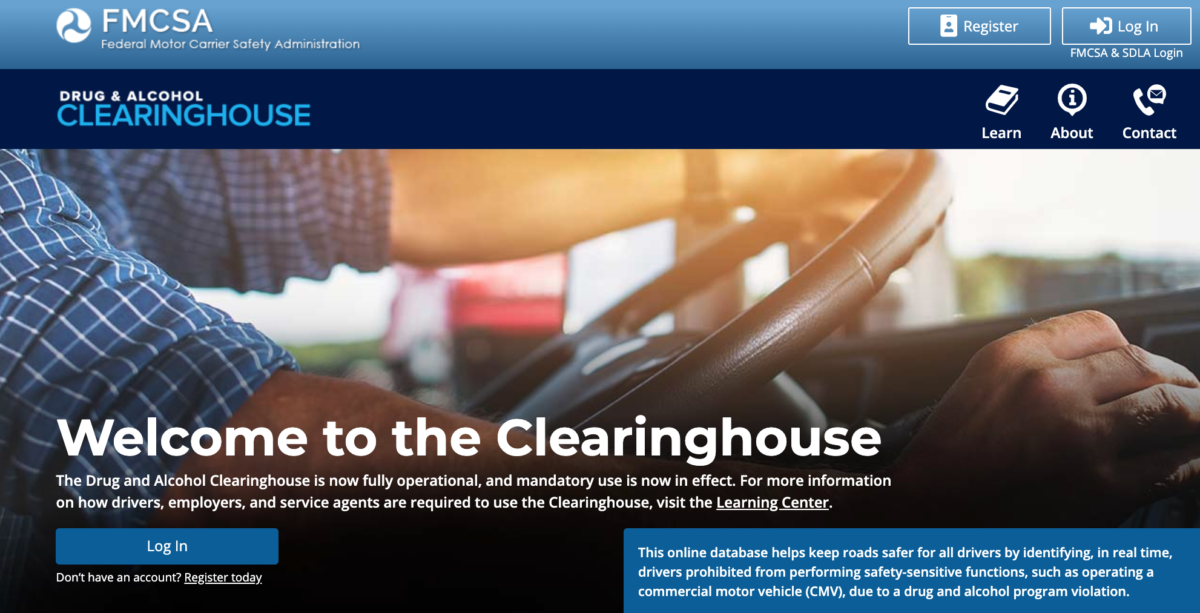
Click “Log In” at the top right of the webpage. This will redirect you to login.gov and you’ll see the following page:
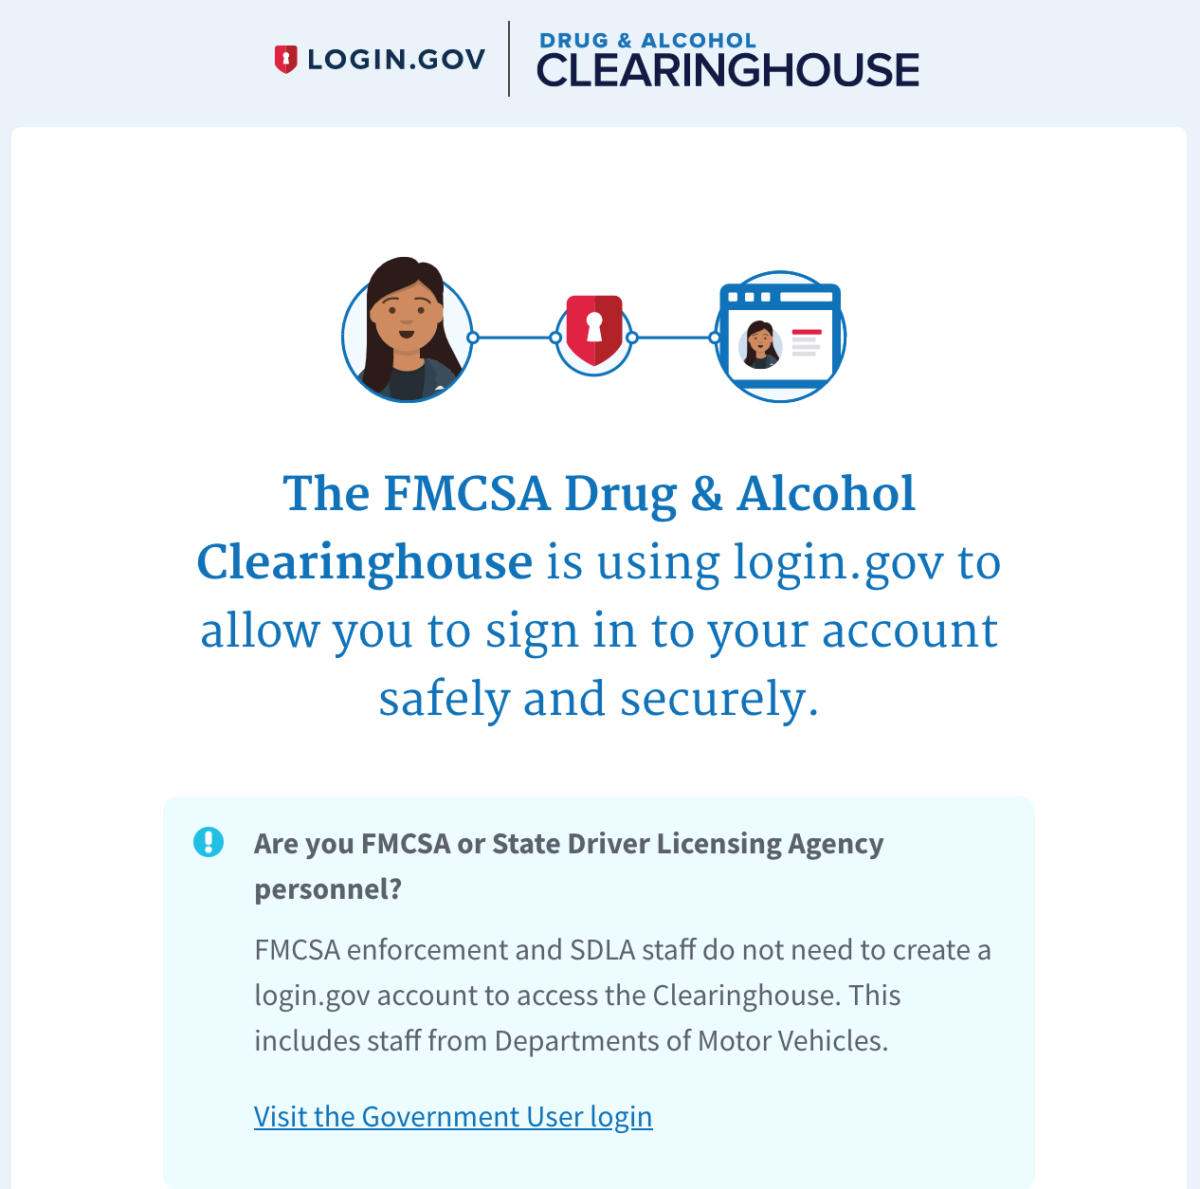
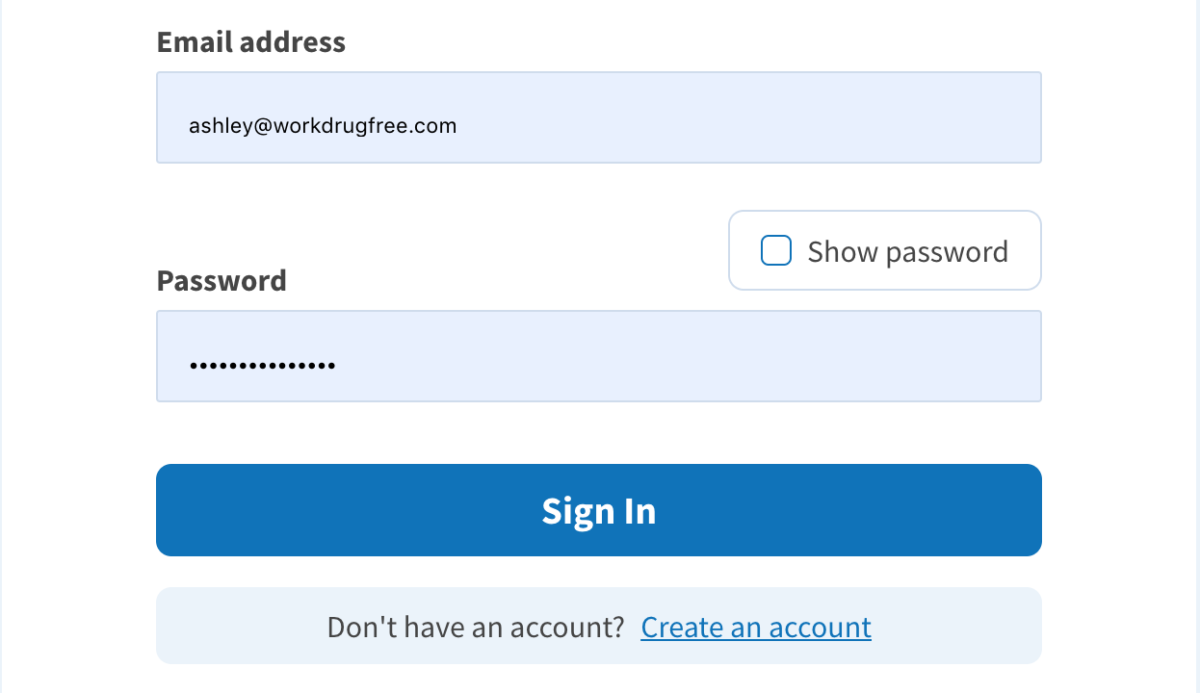
Scroll down to enter your login credentials and click “Sign In”
This will direct you to a page to enter your authenticator code:
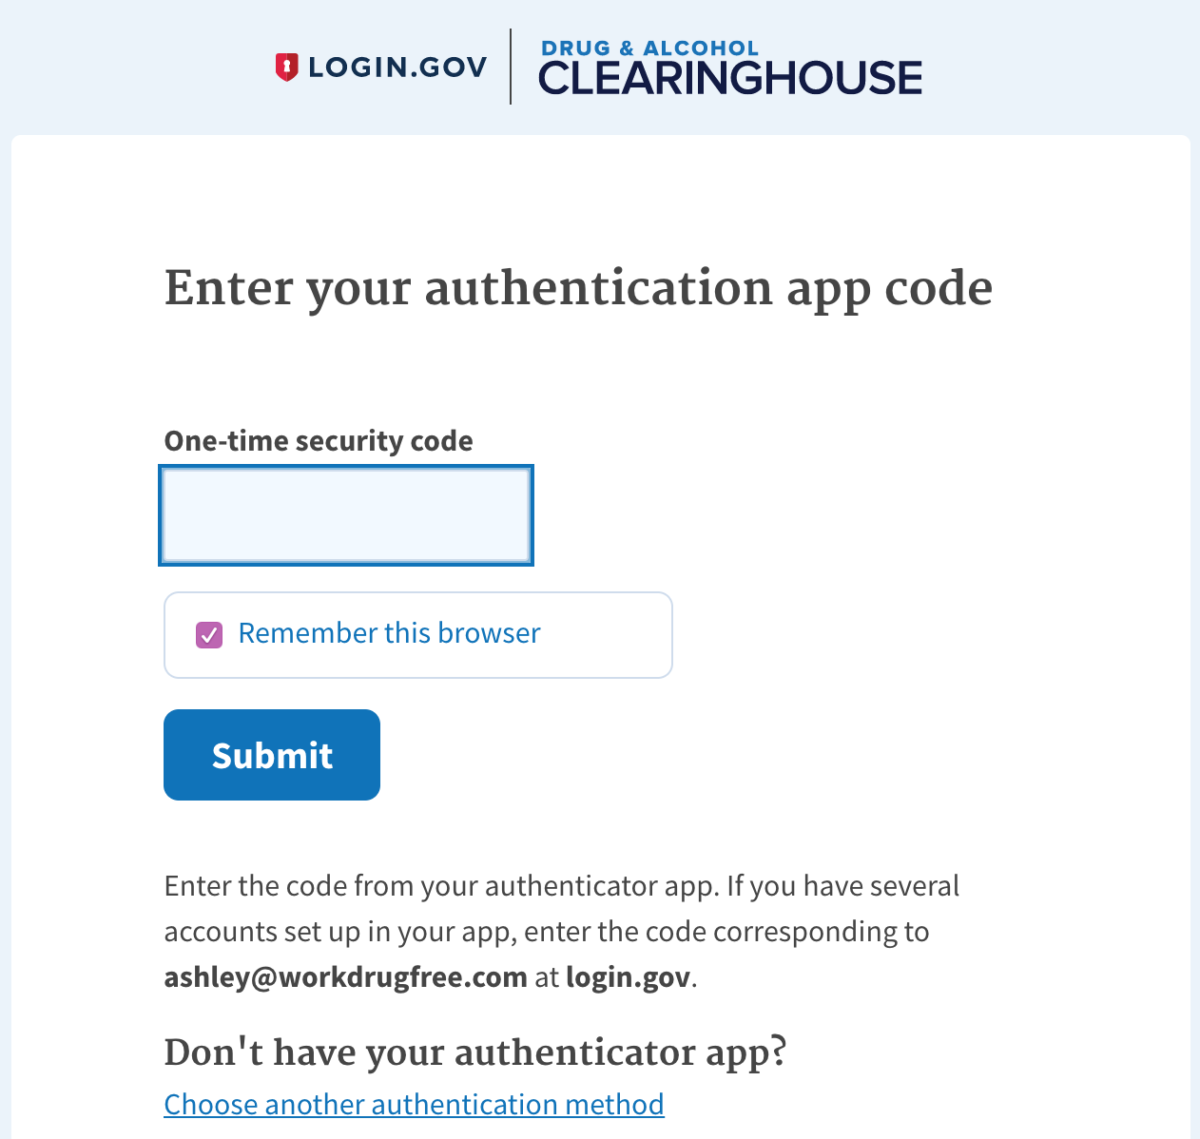
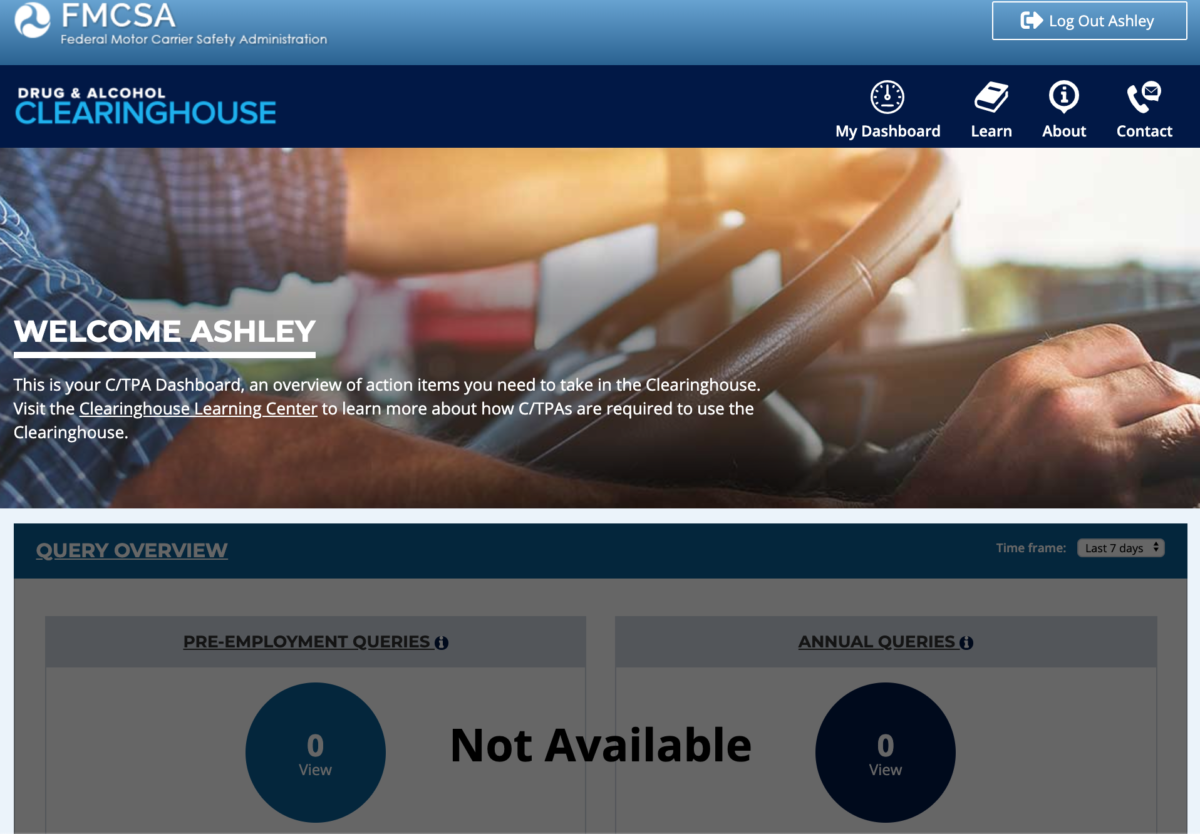
Click on your authenticator app (top right icon on browser) and enter the code displayed in the time allotted and submit. This should bring you into the Clearinghouse main landing page. Your access may be different than mine because I am registered as a C/TPA.
Once you have logged in for the first time, you should be prompted to select your role in the clearinghouse. **Please note, ALL DRIVERS should be encouraged to set up their own Clearinghouse access to ensure they are able to approve queries within the required deadline**
Once you are all logged in and completely set up, you can add users and take care of additional tasks. To add additional users, hover your cursor over “My Dashboard” and select “Users” under the “Manage” icon on the right-hand side. This will allow you to enter the authorized user’s e-mail address and will automatically send them an invitation to set up their access. Don’t forget to send them access to this missive as well to help guide them through the process!

From here, you will use the Clearinghouse to run queries on new drivers, report any violations and return to duty information, etc. You are NOT required to comply with queries through the clearinghouse until 2023, as there isn’t any information in there yet! All reporting entities are required to enter their information, violations, RTD information, etcetera, starting January 6, 2020.
IF you are wanting assistance running your program, are using Workright as a Third Party Administrator of your system, etc., please designate us as your C/TPA so we may enter information or search the database on your behalf.
The “Learn” tab is an extremely useful tool to look at all the requirements and abilities of the Clearinghouse website.

And remember- if you have ANY questions, please let me know and I will do my best to assist you!
 Jim Brown says
July 12, 2022 at 9:52 amWhat it the turnaround time between testing and results?
 Ashley says
July 15, 2022 at 10:36 amHi, Jim! It depends on the type of testing you need completed and whether or not confirmation testing is needed. Our turnaround time on instant tests is, well, instant. You would receive results in as little as 15 minutes after testing is completed. Should you need lab testing or confirmation testing, the turnaround time would be longer. Give us a call and we can sort out exactly what you need!
 whoiscall says
May 7, 2023 at 8:59 pmThanks for sharing!